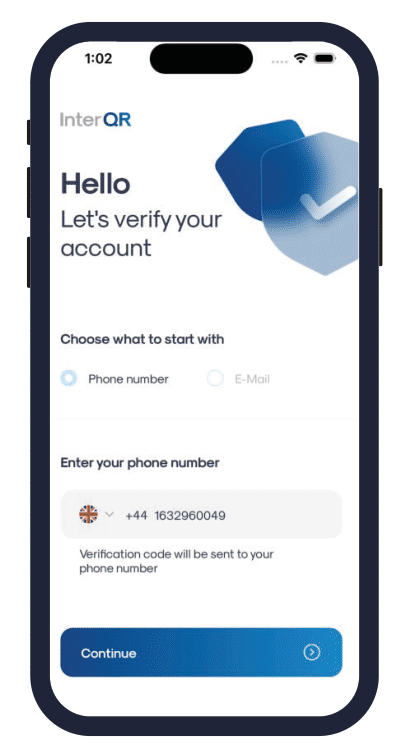
When you open the app for the first time, an initial, one-time authentication is required.
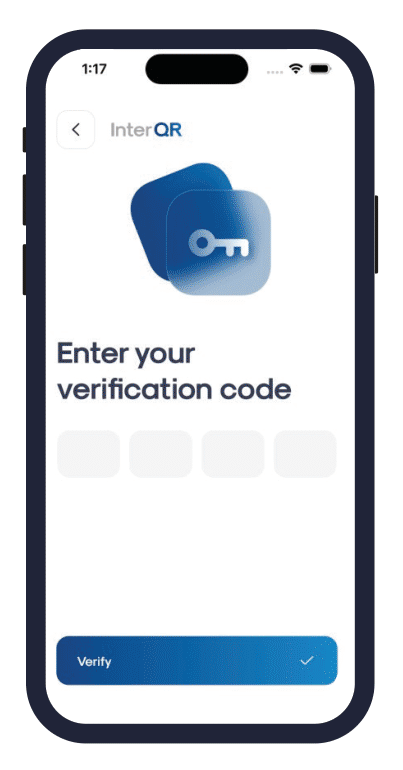
Enter your phone number or email address and press continue. A message will be sent to you with a verification code.
Enter it on the screen and press continue.
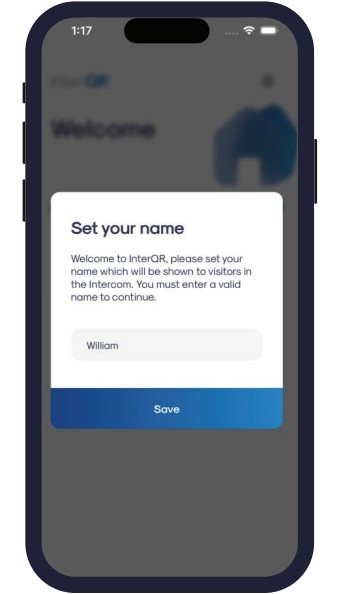
You will be asked to confirm your first name. This can be changed later.
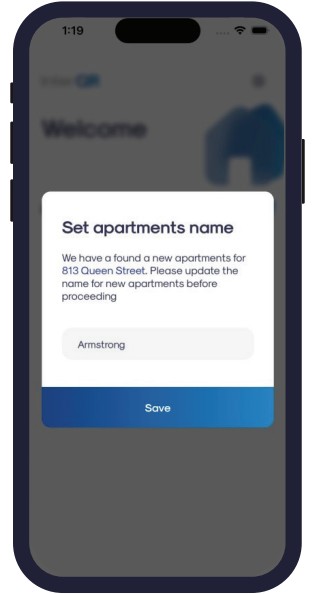
You may also be asked to confirm your last name (as it is shown for guests).
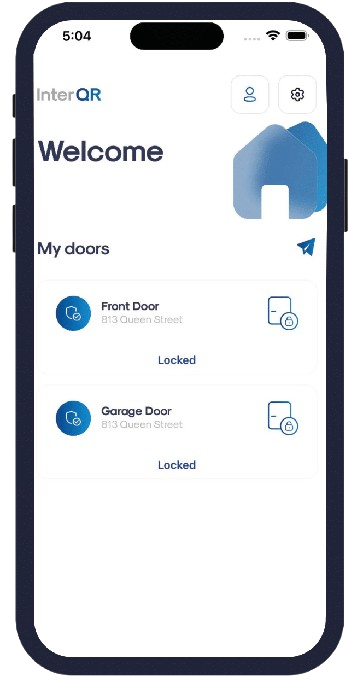
Home screen
You can click on a door’s button to open It.
The “cog” icon on the top right of the screen will take you to the settings screen.
Next to it there is the users button that will take you to the user management page in which you can add / remove and update the residents in the apartment.
The “Paper Plane” iconabove the doors will take you to an access link creation wizard (more details below).
Settings screen
You can change your first name (your display name).
You can hide yourself from the intercom by toggling Do Not Disturb. This option automatically resets at midnight.
You can specify your availability schedule on the intercom, by clicking the Availability button.
You may change the intercom ringtone to the current phone ringtone by turning off the option Call Ringtone.
Log out: Click the Log out button only if you wish to completely disconnect yourself from the intercom system. To re-connect to the system later you will need to repeat the initial authentication process
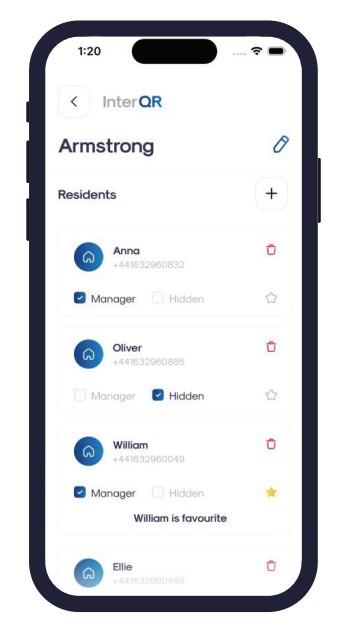
Edit Residents
You get to this screen by pressing the user buttonon the top right corner of the home screen. Here you can see a list of tenants associated with your apartment.
The title is your last name, as it would be displayed on the intercom. You may click and edit this name if required.
Each resident has three options next to their name.
Manager: May add / remove residents to / from the apartment.
Hidden: Not shown to guests. Typically used for children who have a smart phone, but their parents do not wish their names to be shown on the intercom. This option may also be used when you go on holiday and do not wish to receive intercom calls.
Favorite (Star icon): Designate a resident to be displayed at the top of the residents list displayed to guests, with a frame around their name. If a guest is not sure which resident to call, they are most likely to call the favorite resident. Only one favorite resident may be selected per apartment.
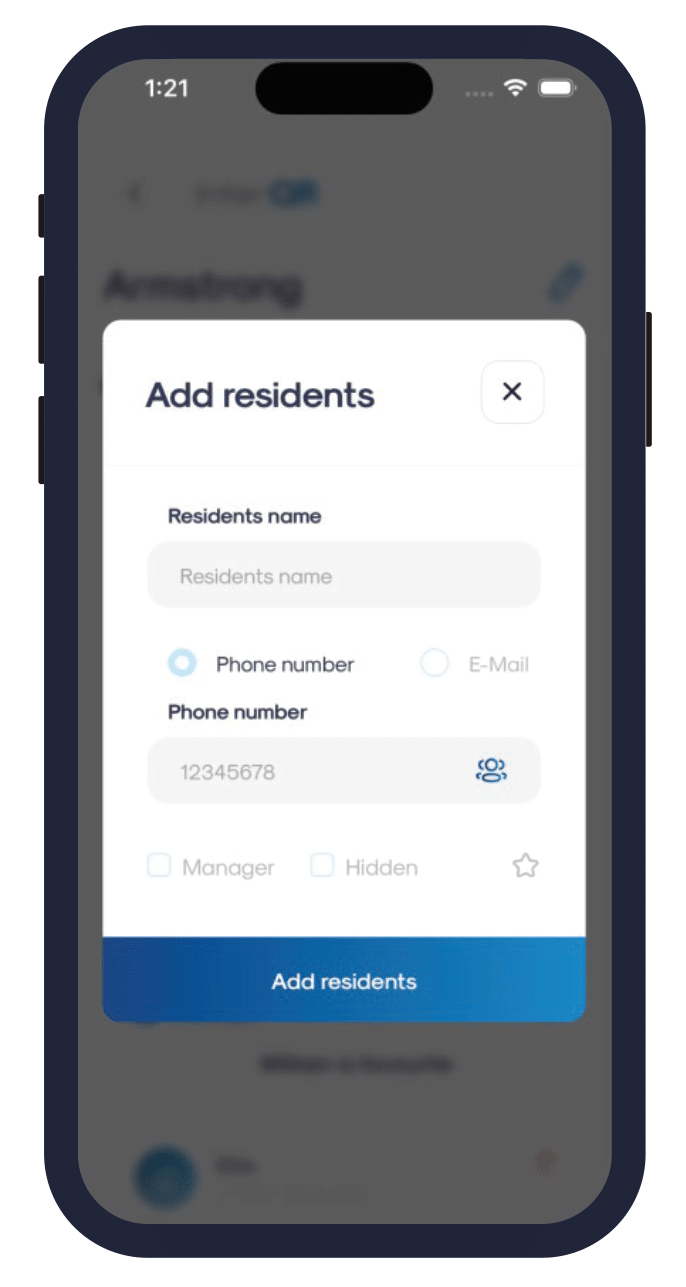
Add a resident
After selecting a contact, you may specify them as manager, hidden, and favorite (star icon). The default login for new residents is their phone numbers.
You may change this to their email address. In such case, you should manually enter the new resident’s email address.
Note that by default, the new resident’s name is their name in the address book. You may change it before saving it in the system.
Availability
You can click on a door’s button to open it. The “cog” icon on the top right of the screen will take you to the settings screen. The “Paper Plane” icon above the doors will take you to an access link
creation wizard (more details below).
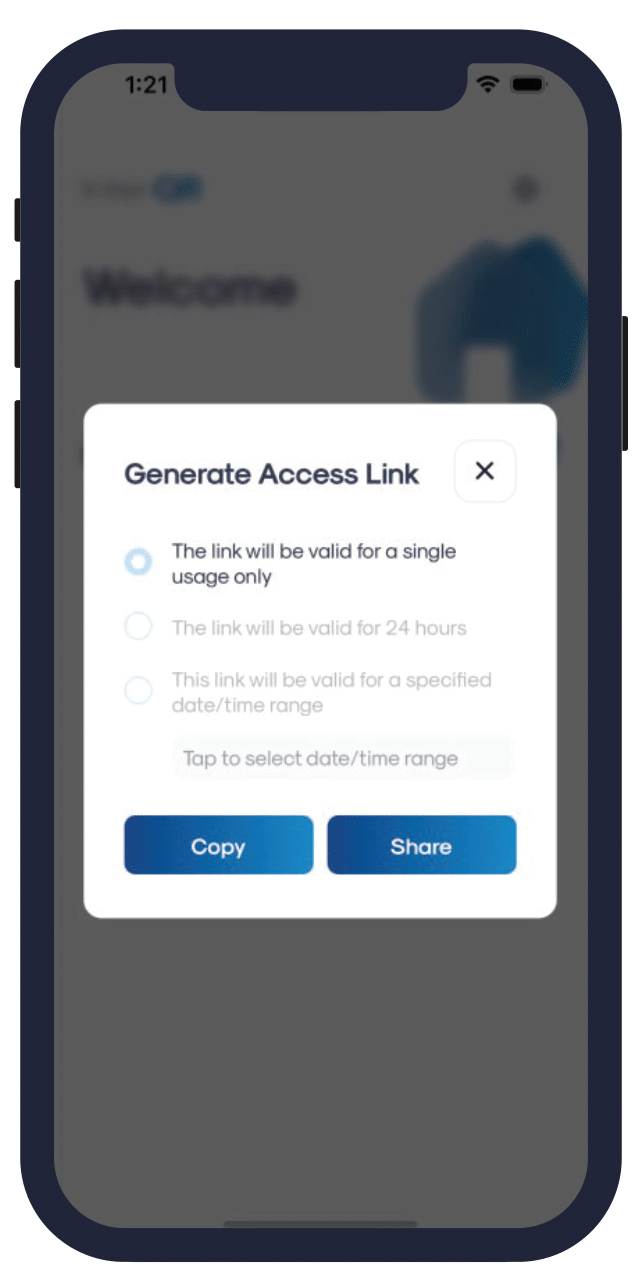
Send Access Link
On the Home screen, click the paper plane icon above the door buttons, to share a link for a single / multiple entry to the door.
You may send a single-use access link (typically used for deliveries) or a multi-use access link (typically used when hosting visitors at your home). In either case, the link is valid for the next 24 hours.
You can also create a “timed” link, which will be valid during a timeframe of your choosing.
The link may be shared or copied.
Sharing is suggested when the link is sent to a person who is in your address book. In
such case, you’d be able to share the link in a variety of standard ways.
If the person is not in your address book (typically in case of deliveries), we
recommend copying the link and sending it manually / attaching it to the delivery notes.